Baked Lima beans with bacon
Tiny Cottage Kitchen may earn money or products from the companies or product links mentioned in this post. This supports continued free recipes for you to enjoy.
How to make baked lima beans with onions and bacon
I still remember just over a year ago when I first tried the large white dried lima beans in a recipe I was testing for my vintage cooking channel. You can audibly hear both my surprise and resentment that I was never introduced to these creamy sweet beans. They are nothing like the much disliked mealy mini green versions my parents presented to me on a plate in my youth.
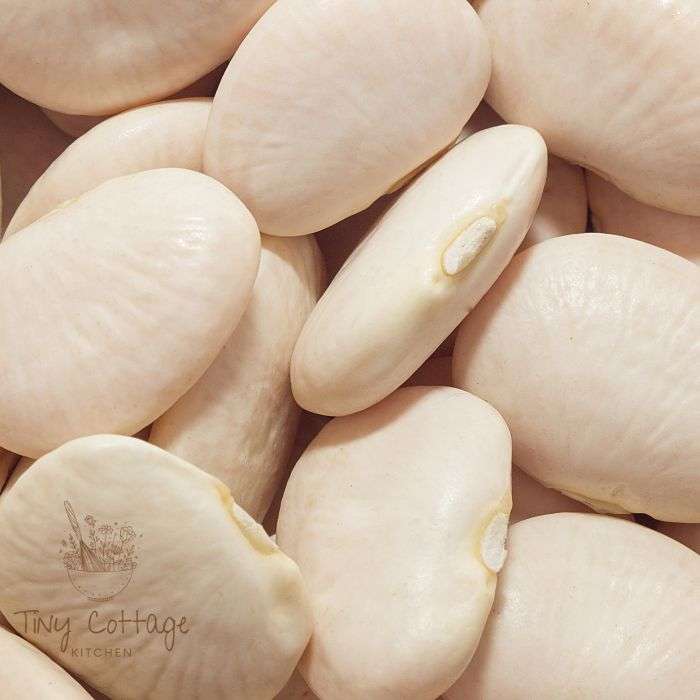
Now I suppose I have become a one man (or woman as the case may be) marketing machine for these gems hiding out innocently in the dried bean section of the super market. Once you soak these beans they are colossal! Nearly as big as a half dollar sized coin.

If you're looking for a hearty, comforting dish that’s rich in both flavor and history look no further than baked large lima beans! Known for their buttery texture and earthy flavor, large lima beans, also called butter beans, have been enjoyed across the globe for centuries. Originating in South America, these beans were cultivated by the Moche civilization in what is now modern-day Peru. They made their way to the United States and other regions in the 16th century, becoming especially popular in Southern and Creole cuisine.
Today, large lima beans are beloved in kitchens from the American South to the Mediterranean and even the Caribbean, where they often appear in stews and baked dishes. Their tender texture and mild flavor allow them to absorb spices and herbs beautifully, making them a perfect base for this easy, delicious baked recipe that’s sure to become a family favorite. Let’s dive into this comforting dish!
This recipe is reminiscent of traditional Boston baked beans but have a lighter less "gloopy" sauce to let the sweetness of the beans shine. It's also got plenty of sliced onions and a generous amount of bacon to make it a crowd pleasing casserole.
See the recipe for my sugar free chili sauce here, an important part of this recipe.
Baked Lima Beans with bacon and onions
Equipment
- 1 4 qt saucepan
- 1 Collander
Ingredients
- 2 c dried large lima beans
- 1 tsp salt
- 2 med yellow onions
- 3 whole cloves
- 1 1/2 tsp dried mustard powder
- 1 tsp ground ginger
- 1/4 c brown sugar
- 1/2 c chili sauce (see my recipe)
- 8 slices bacon
Notes
Soak the beans in a large bowl in cool water overnight, 8-12 hours. If it's warm in your home put them in the fridge so they don't start to ferment.
Next day, rinse well and add beans to a 4 qt or larger pot with 8 c. of water and t Tsp salt. Simmer on med-low heat til tender and skins burst, approximately 1 hour.
Meanwhile, prepare the sauce. Peel both onions. Cut one in half and stud it with the whole cloves. Slice the remaining onion and other half into 1/4" slices. Mix spices with brown sugar and chili sauce along with the onions in a medium sized bowl.
Preheat oven to 350F.
Drain beans reserving 2-3 cups of the cooking liquid. Add 1 cup of the liquid to the sauce and onion mixture.
Cut bacon slices in half. Line a baking pan or casserole large enough to hold your beans and sauce with half the bacon. Layer half the sauce with half the beans then finish with remaining half of beans and sauce. Push the onion with cloves down into the center then cover with the remaining back slices.
Bake uncovered for one hour, check halfway through to make sure there is enough liquid in your dish so the bake doesn't become dry. add half a cup of liquid if needed. Beans should be very tender and well coated with sauce and bacon brown and rendered when it's done.
Allow to cool 15 minutes or more before serving. Can be made ahead and reheated.
Store leftovers in fridge.